Reasons to buy my DIY Plans,
|
|
|
|
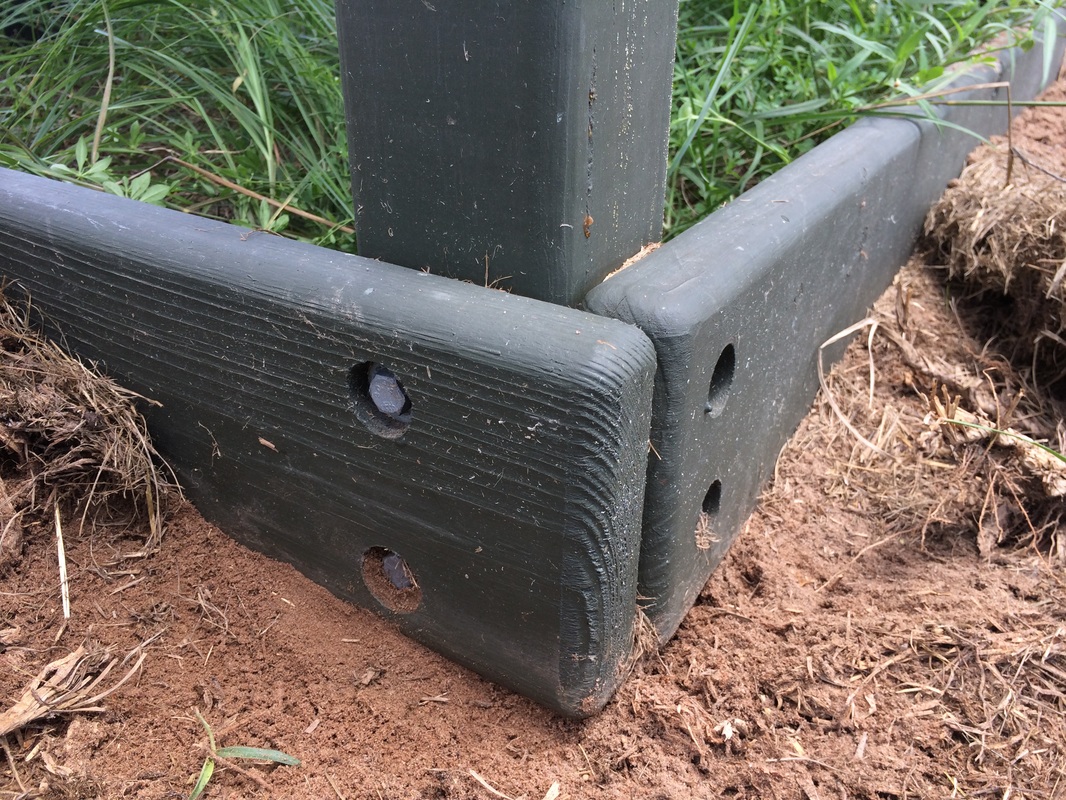
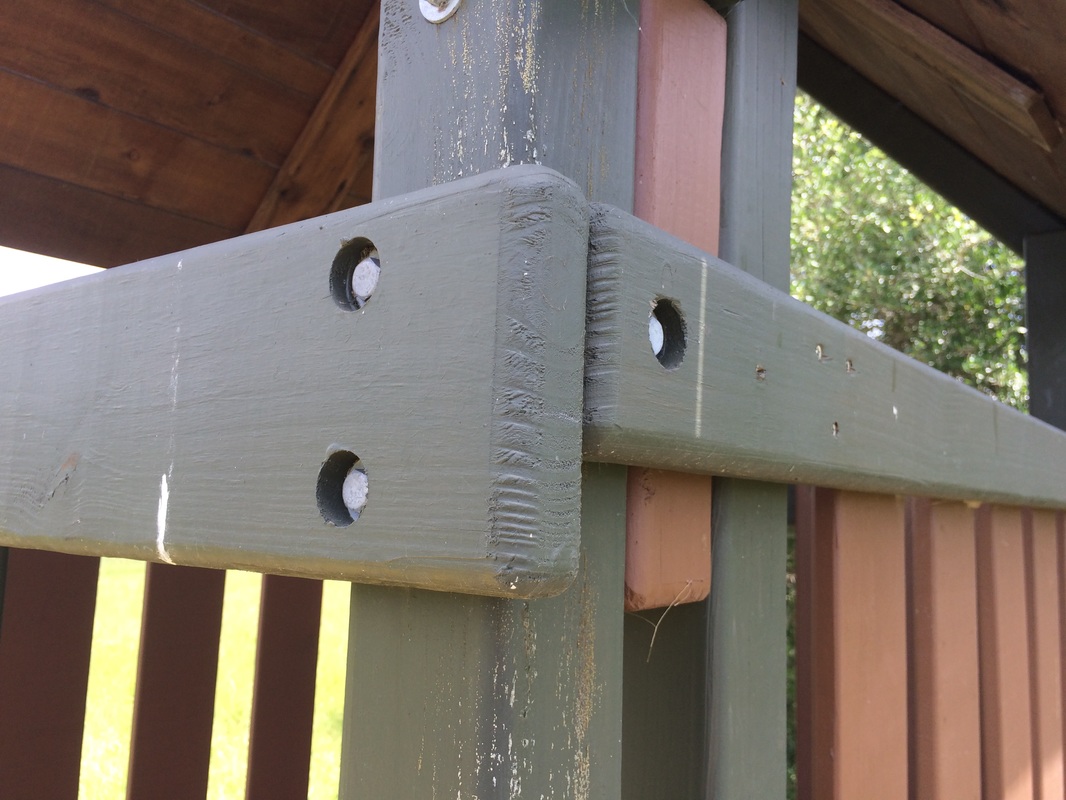
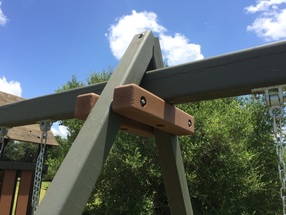
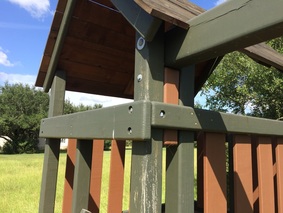
Overlapping JointsOverlapping joints at the base and at the top of your structure add strength, durability and overall stability to your playset. Counterbores recess heads of bolts to minimize snag hazards and give an the playscape and overall look of quality and craftsmanship.
These wood-on-wood features along with the double bolt construction help make the forts adult and kid safe. |
Dual Bolt ConstructionTwo 3/8” lag bolts are used at all 2” x 6” to 4" x 4" joints. This eliminates pivot points in the structure, minimizes leaning, and adds overall strength. There are 4) deck supports with 2" x 6" planks for the deck.
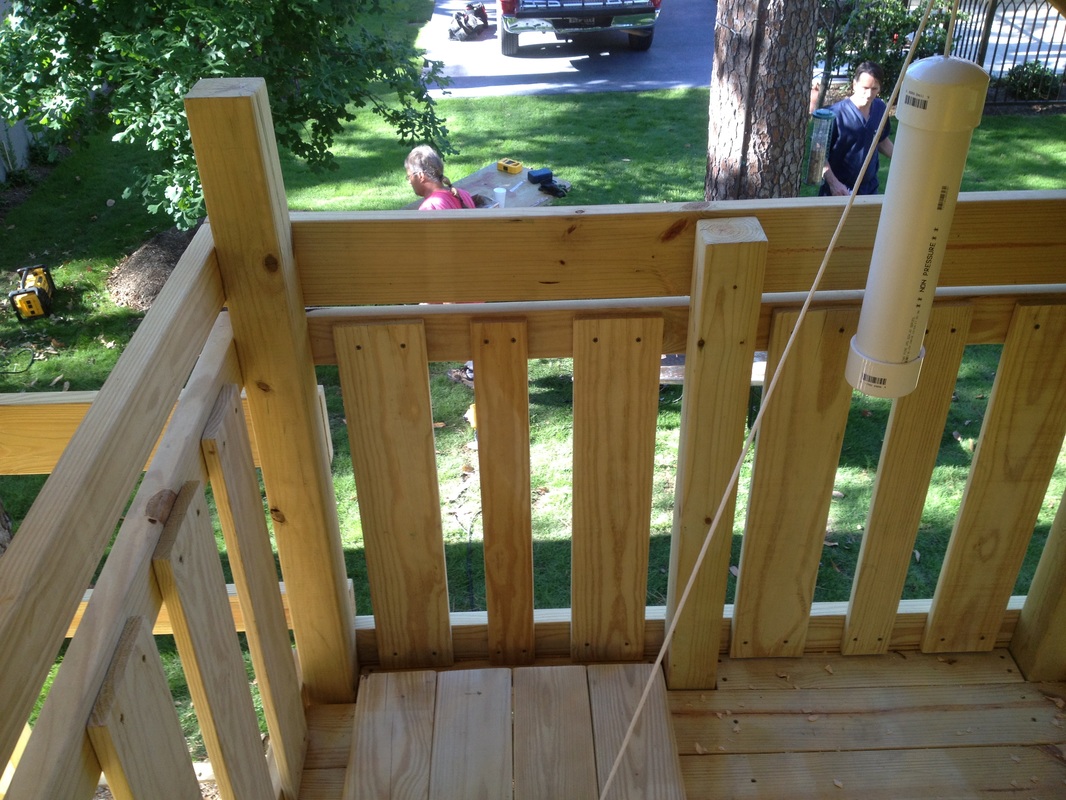
Rounding all corners and edges to eliminate sharp corners or edges is not necessary but it is recommended and worth the extra effort. The wood in these pics have been coated with a sealant. |
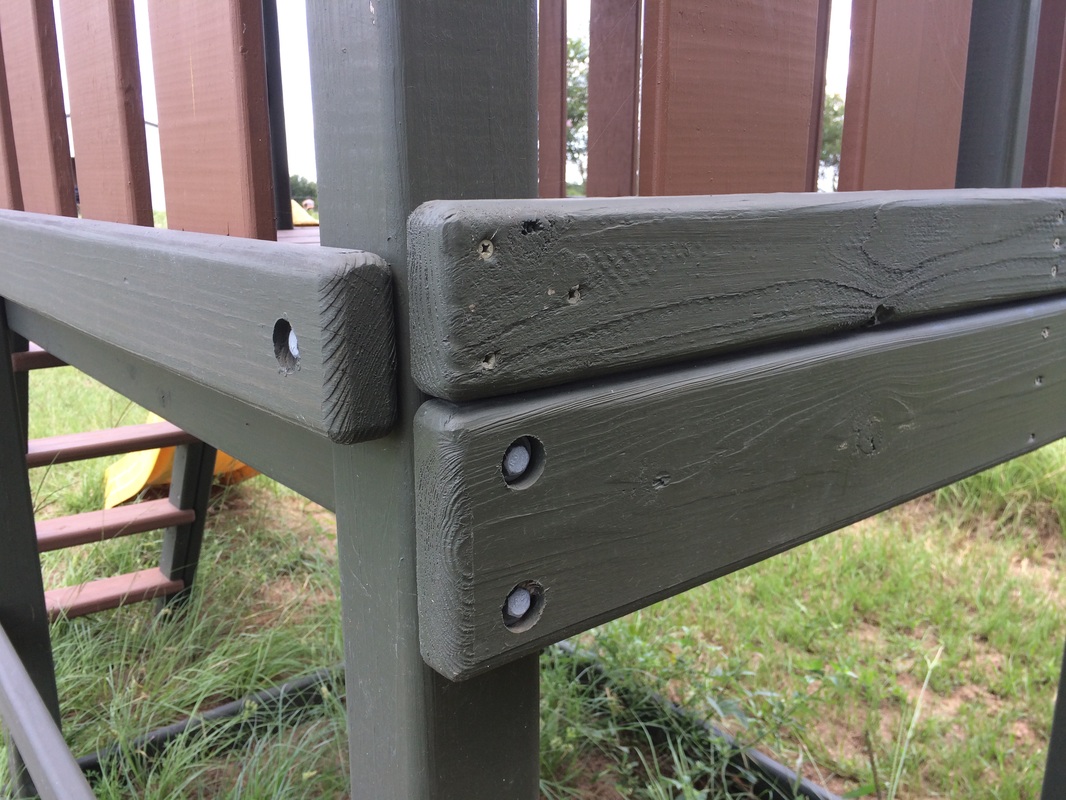
Multiple Fasteners3” screws and 3/8" lag screws are utilized at all 2” x 4” joints. This eliminates a pivot point in the structure, minimizes leaning, and adds overall strength. Pre-drilling of all holes before securing minimizes cracking and splintering of the wood. Notice no splits from fastener attachment and all corners and edges are flush and square. Your friends will think you spent a fortune on your backyard playset.
|
Solid All Wood
|
Solid All Wood
|
1/2" Carriage Bolts
|
|
|